Tip: Importing the CAD file using the CAD by Reference menu option will allow your file to be updated in PC-DMIS if any changes are made to the IP CAD file as saved from Inspection Planner.
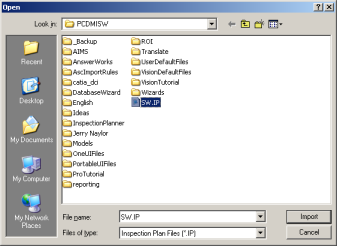
Browse to and select the needed IP CAD file and click Import. PC-DMIS imports the IP CAD file.
 Select File |
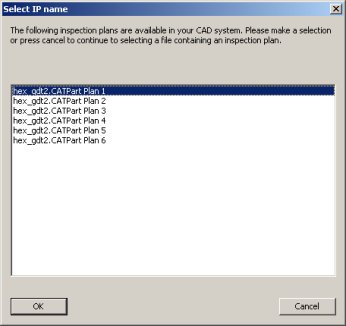
Import | Inspection Plan. The Select
IP Name dialog box appears.

Select IP Name dialog box
Select the needed Inspection Plan and click OK or click Cancel to browse to and select an exported Inspection Plan via the Open dialog box.
Follow any on-screen instructions.
Select the IPD file that will be applied to the imported Inspection Plan if you have not previously selected it. See the "Inspection Planner Parameters and Rules" topic for more information.
If the insertion point is not at the end of the part program, you will be prompted to move the cursor to the end of the part program before continuing.
Specify the Optimize Path options and click OK, or click Skip to ignore this step. See the "Performing the Path Optimization" topic for more information. Review the "Path Optimization Summary" and click OK.
Specify the options for "Automatically Inserting Move Commands" and click OK to complete this process or click Cancel to skip this step.
Your imported Inspection Plan will be proceeded by a start comment that provides basic information for the imported Inspection Plan (date/time, IP file name with path, IPD file name and path). An end comment is also added to indicate the end of the translated Inspection Plan.
