Click the Measure button from the Main toolbar.

Select the Measure Plane button from the QuickStart window. The QuickStart plane interface appears.
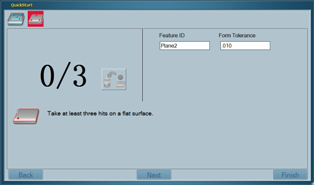
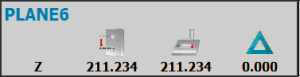
Using the Take Hit (right) button of your Multi Gage arm, take at least three hits to define the plane feature. As the hits are received Multi Gage updates the number of hits. When the minimum number of hits have been received, the nominal and dimension results for the plane are updated in the Status window.

Note: If you are not satisfied with a hit, you can remove it by clicking the Remove Hit button. You can also hold the Done (middle) button for more than one second to remove the last hit.
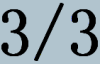
Note: You may take more hits than the specified minimum. For example 6/3 would display if you took 6 hits where you only need 3. This allows you to further define the plane's geometry. When dimensioning flatness of a plane, it is recommended to take many hits to accurately define the plane's form.
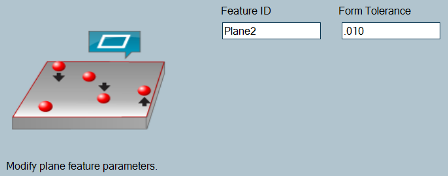
Edit the plane's parameters if needed. See "Editing Plane Parameters".
![]()
Click Finish or press the Done (middle) button on your Multi Gage arm. The new plane feature is added to the History window. The Feature ID text in the History window is colored to indicate whether the feature is in tolerance (GREEN) or out of tolerance (RED).
![]()